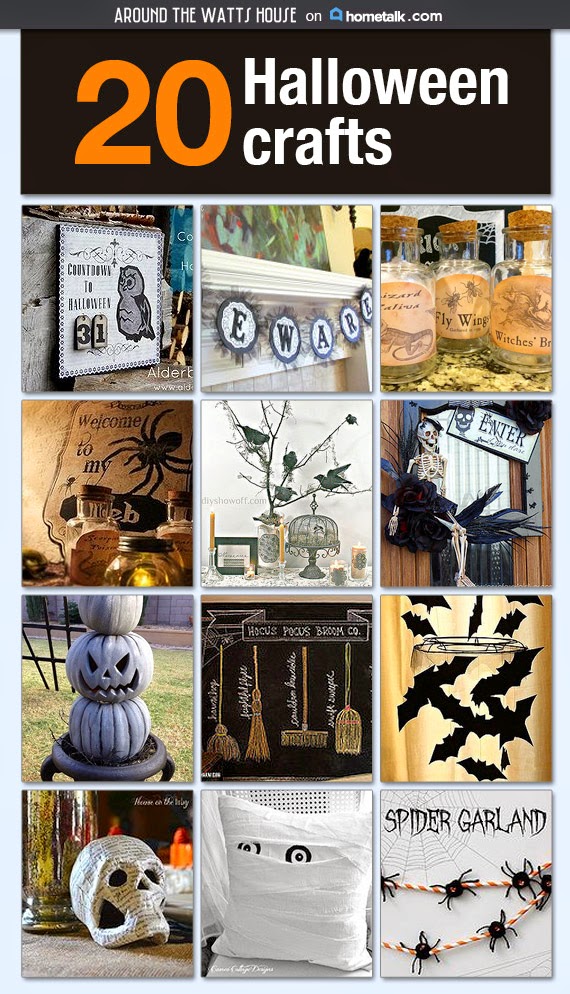
Imagine my surprise when I opened up my email account, and found a message from Liz Storch, a Community Manager for Hometalk. She was kind enough to compliment me on my DIY Apothecary Jars, and asked if I'd be interested in curating a Clipboard, featuring Halloween crafts found on the site. Well, of course I was interested! Interested, and honored! Luckily, Hometalk has so many talented members, that it wasn't hard to pull together a variety of crafts to share. Each craft featured on the board will have a link to the original member's post, where you will find a tutorial on how to complete the craft for yourself. While you are visiting the board, take a minute to venture out, and browse the many topics available on Hometalk. I'm positive that once you do, you will find yourself signing up for your own account. That is, if you haven't already done so. Thank you again, Liz, for thinking of me for this. I had fun pulling it all together!
Showing posts with label HALLOWEEN DECORATION. Show all posts
Thursday, October 16, 2014
Friday, October 3, 2014
DIY Outdoor Skull Garland
Thanks for joining me today for the reveal of this outdoor skull garland! This project is so simple that it consists of only three steps to make.
Supplies Needed:
Rope, Drill, Scissors, Skulls (mine are from the Dollar Tree), and not pictured, Tape
First you will take your skull and drill two holes, one on each side. Make sure that the hole is large enough to run your rope through. I used the scissors to enlarge the hole after drilling if I ran into any problems.
Second, run your rope through the skull, left to right , skull facing you. I had success getting the rope through easily by taping off the end of the rope. It's something I discovered after taking my supplies photo so that's why you don't see it.
The third step is to tie a knot at each end if the skull. Depending on the length you are going for, and how many skulls you are using, calculate the space to the next skull. Tie another knot, and add another skull to the rope. Repeat this process until you have reached the desired length.
That's it! Again, so easy, and cheap, and yet, you end up with an awesome outdoor Halloween prop. I hope you are inspired to recreate this yourself! If so, please share a link here with me. I'd love to see it!
Subscribe to:
Posts (Atom)


